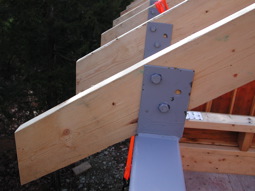
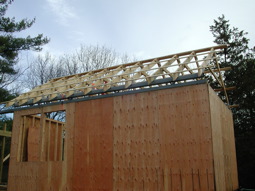
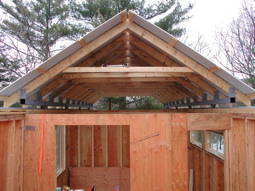
The truss brackets we had welded to the roller tubes were really, really helpful in getting the trusses up quickly, aligned accurately and secured. They add a lot to the rigidity and strength of the structure. |
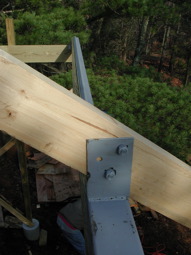
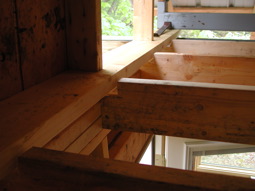
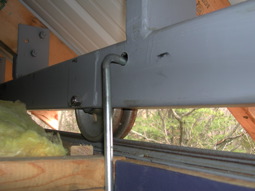
A detail showing the arrangement of the truss, roller tubes and track before the roof went on. |
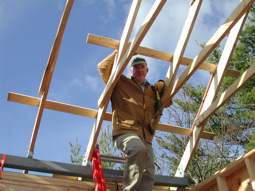
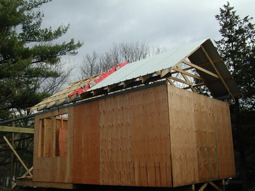
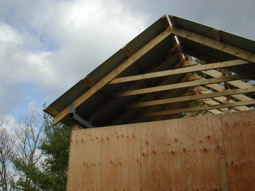
Nice day to nail purlins on. We used 3/4" strapping. |
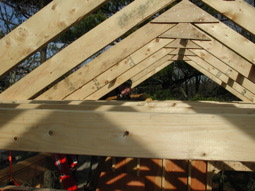
We built a jig on the floor of the observatory and fabricated the 11 trusses using it. They came out quite uniform. Each rafter is 8' 5" long. |
Purlins are up, ready for the roof panels. |
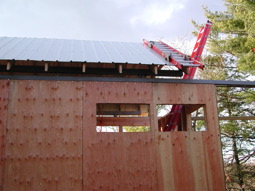
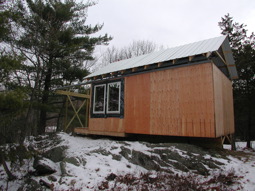
First panels are up. We used ribbed galvalume. It's light and seems like it will be very durable. White was selected to reject solar energy. It's fortunate that we didn't spend more time thinking about how we would actually get the panels on, since working off the ladder was a little intimidating with a large cliff at the foot of the building. |
We left space for a full-length ridge vent to keep things cool. |
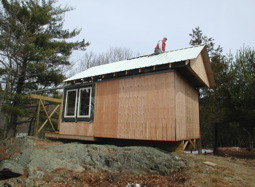
This shot shows just about all the components of the system. With the 16 roof panels on, moving the roof is still a one-hand push. It rolls very easily and tracks well. |
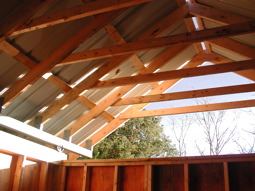
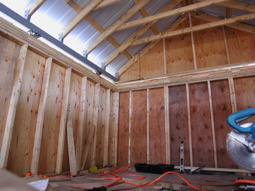
From the inside. |
Had to roll the roof to the right spot to get the installer (me) off after the last panel. |
Windows open, roof closed. |
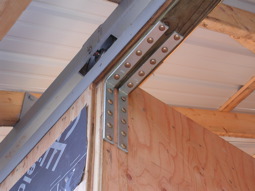
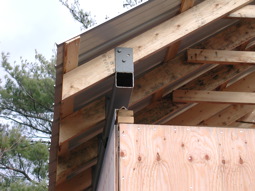
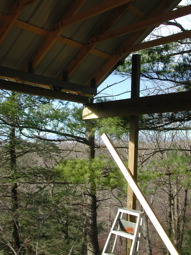
This detail shows the attachment of the 4x4 beam to the north side of the building, which carries the roof when in the open position. |
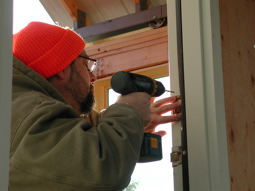
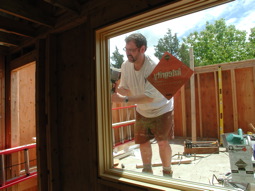
Rick installing the front door and lockset. |
Windows closed, roof open. |
Getting ready to install the permanent cross-bracing on the upright outriggers that carry the roof when open. |
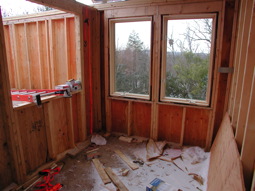
The warm room has these two casement windows on the west side, two smaller awning windows on the east side for light and ventilation, and a large window (not installed yet) in the midwall so I can keep an eye on the scope from the warmroom. |
Roof in the open position before the gable ends are framed and soffit enclosed. |
Windows and roof closed. |
Installing the ridge vent. Walked funny for about a week after this. |
South gable end has been framed and sheathed. |
We notched the 2x6 ceiling joists over the warm room so that they serve as positive stops for the roof, restraining it from rolling too far in either direction. |
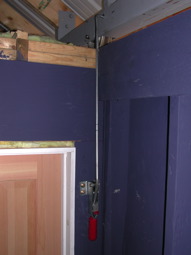
Fixed window goes in between the warm room and the observing room. |
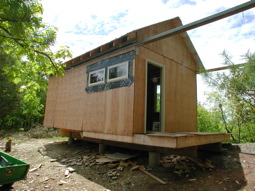
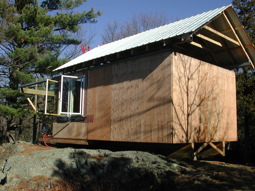
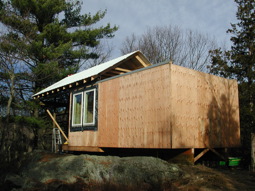
Fully sheathed and more-or-less weathertight, May 2005. Soffits closures and seals yet to be added. |
The roof is secured with two heavy-duty toggle clamps (McMaster-Carr part# 5136A15). I made longer hooks from 7/16" bar stock. |
Drilled a hole into each rail for the hold-down hook. |
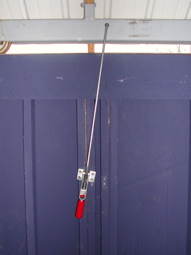
Slight angle acts like a spring line to hold the roof closed against the stops. |